|
 |
For the next step we need the ram.
It is turned from aluminum bar stock.
The grain is pushed down until it reaches the
nozzle end of the case.
Next we need a delay grain.
The delay is placed into the case and seated
against the fuel grain .
Once the delay is seated it is rammed with a few
light blows from a rubber mallet.
This helps to seal the delay by causing the paper
wrap to expand slightly.
Now it is time to form our forward closure. We use
Bentonite clay for this step. I use a straw as a measure.
The clay is added to the case. It is easy
using the straw. It slips right in.
This is what it should look like before ramming.
Again we use the rubber mallet. It takes several
blows to form the forward closure. Care must
be taken not to ram too hard or the case will be
damaged. It may take a few tries but once you
get a feel for it, it is easy.
If all goes well this is the result. Notice how much
the clay has been compressed.
The next step requires a drill guide. The big hole
just fits over the case. the little hole is 1/16"
diameter to match our drill bit.
It's time to drill a touch hole through the closure.
The guide assures that the hole is centered.
Using your fingers for this step allows you
to feel when the drill bit comes into contact with
the fuel grain. As soon as you feel it stop drilling.
If you look closely, you will see the red of the
fuel grain through the touch hole.
The guide is now placed over the nozzle end. Make sure
that the drill bit only sticks out far enough to drill through
the fuel grain. If you go too deep the delay grain will be
compromised. Drill slowly to prevent heat. This is the
most dangerous part of the assembly.
We are almost there. Again I use a straw for a measure.
This time for our ejection charge of homemade BP.
Yes I know I have dirty fingers. The BP did it, not me.
Last step is to add a masking tape cap. I make these
with a hole punch. They are pressed into place
with the aluminum ram.
OK there you have it. One motor ready to go. It
looks like a lot of work but it goes quickly once
you get the hang of it.
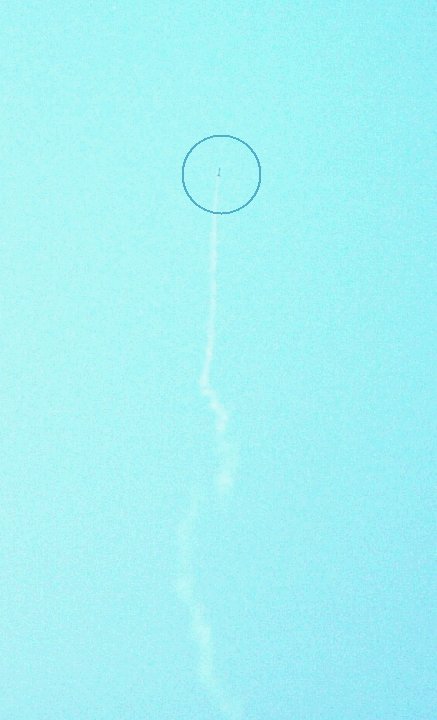
Now it is time for the real fun. This is a 7" long
14 gram micro Bertha flying on one of these little
motors.

About 2 seconds after ejection. See I told you
it would work. Oh ye of little faith.
I love these little motors if I do say so myself!